If you love nail art but feel intimidated by complex designs, don’t worry. You don’t need to be a professional to create stylish nails at home. With a few basic tools and some simple techniques, you can get started today. This guide will walk you through easy designs perfect for beginners.
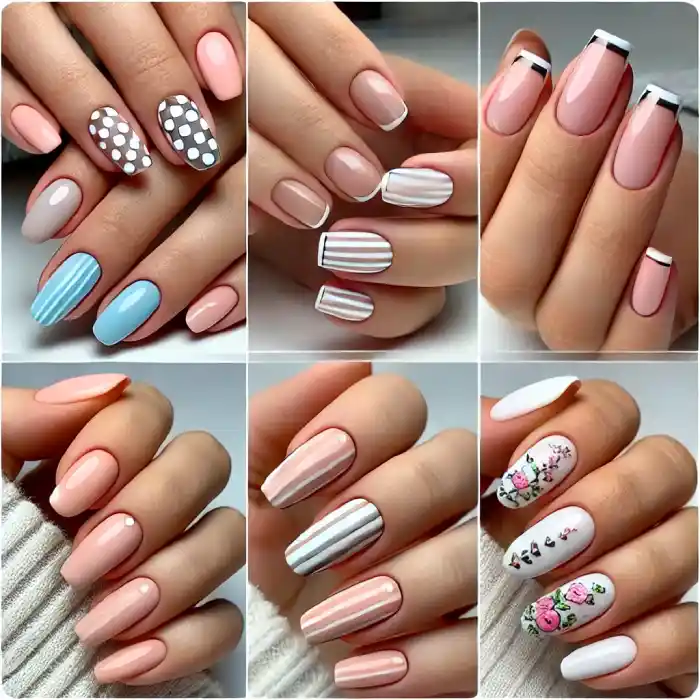
1. Polka Dots – A Classic Choice
Polka dots are one of the easiest designs to try. Here’s how:
- Apply a base coat and let it dry.
- Use a bobby pin or dotting tool to dip into a contrasting nail polish color.
- Gently press dots onto your nails.
- Finish with a top coat for a smooth look.

This style works well with any color combination, so feel free to experiment.
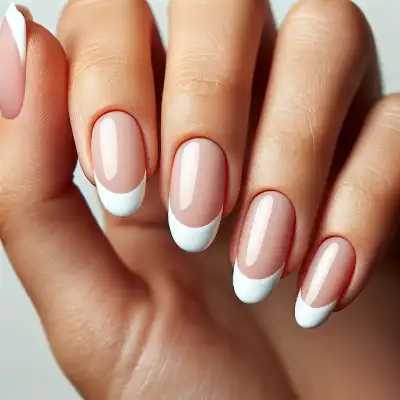
2. French Tips – Simple and Elegant
French tips give your nails a clean, sophisticated look. No need for a steady hand – just use tape or a sticker guide.
- Paint your nails with a nude or light pink base.
- Place a strip of tape just below your tips.
- Apply white polish to the exposed tips and let it dry.
- Remove the tape and finish with a top coat.
3. Striped Nails – Easy Yet Stylish
Stripes look great and are simple to do with a thin brush or tape.
- Paint your nails with a base color and let it dry completely.
- Use striping tape or a fine brush to create thin lines with a second color.
- Peel off the tape (if using) and seal with a top coat.
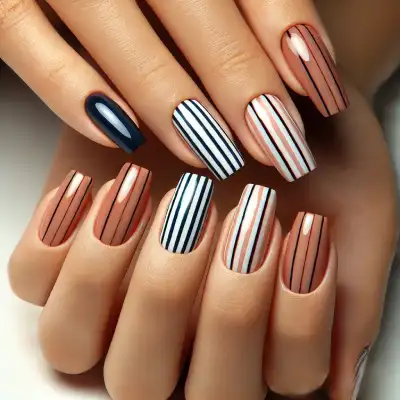
Vertical stripes make nails look longer, while horizontal stripes add a modern touch.
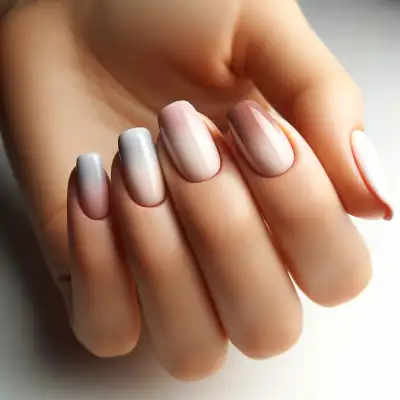
4. Ombre Nails – Soft and Trendy
Ombre nails create a gradient effect and are easier than they look.
- Apply a light base color and let it dry.
- Use a sponge to dab on a darker shade at the tips.
- Blend gently for a smooth transition.
- Apply a top coat to even out the texture.
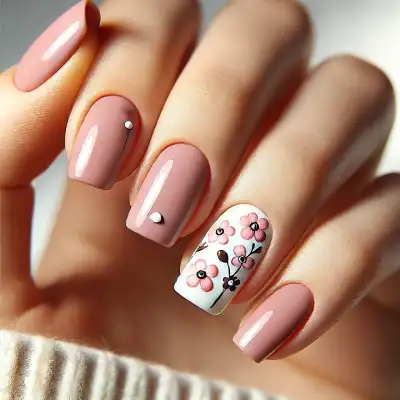
5. Floral Nail Art – Cute and Fun
Flowers add a feminine touch to your nails. You don’t need an artistic hand—just a dotting tool.
- Start with a solid base color.
- Use a small brush or dotting tool to create five small dots in a circular shape.
- Add a smaller dot in the center for the flower.
- Finish with a top coat.
Tools You Need
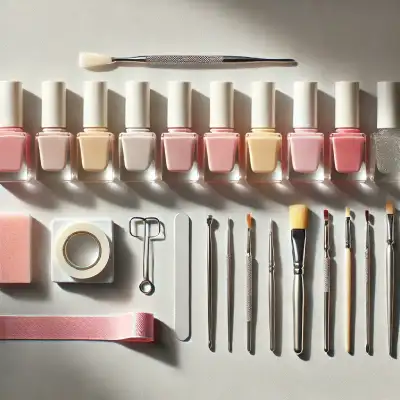
- Nail polish in different colors
- Base coat and top coat
- Dotting tool or bobby pin
- Thin brush or striping tape
- Sponge for ombre effects
Tips for Best Results
- Always let each layer dry before applying the next.
- Use thin layers to avoid smudging.
- Clean up mistakes with a small brush dipped in nail polish remover.
Final Thoughts
Nail art is all about creativity. Start with these simple designs and build your skills over time. The key is to practice and have fun with it. If you make a mistake, don’t stress—just try again.