Nail art is a fun way to express yourself. You don’t need a salon to get stylish nails. With a little patience and some basic tools, you can create beautiful designs at home. Here’s how to get started.
What You Need
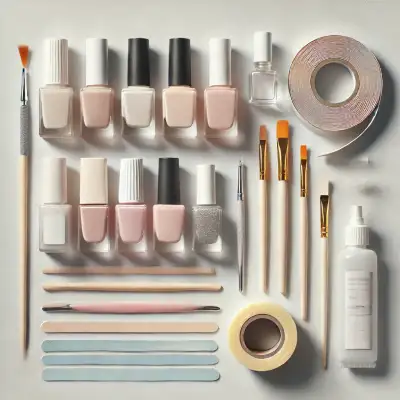
Before you begin, gather your tools:
- Nail polish (various colors)
- Base coat and top coat
- Dotting tool or toothpick
- Nail tape or thin brush
- Q-tips and nail polish remover
Simple Nail Art Designs to Try
1. Polka Dots
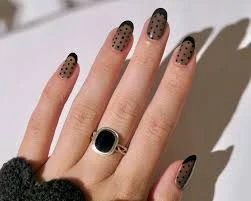
This is one of the easiest designs to start with.
- Apply a base coat and let it dry.
- Paint your nails with a solid color.
- Use a dotting tool or the end of a toothpick to create dots with a contrasting polish.
- Finish with a top coat.
2. Ombre Nails
A gradient effect looks stylish and is easy to do.
- Apply a base coat.
- Paint a sponge with two or more nail polish colors.
- Dab the sponge onto your nails until you get the desired blend.
- Seal with a top coat.
3. Striped Nails
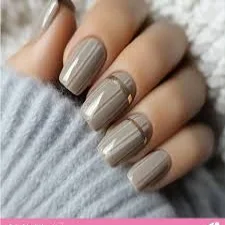
Stripes add a classy touch to any look.
- Paint your nails with a base color and let it dry.
- Use nail tape or a thin brush to create straight lines with another color.
- Remove the tape and let the polish dry before applying a top coat.
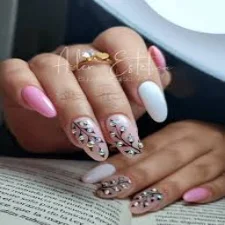
4. Floral Design
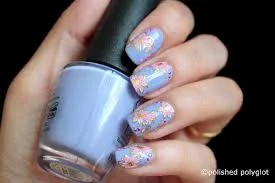
Perfect for spring and summer.
- Start with a light base color.
- Use a dotting tool to create small circles for flowers.
- Add tiny leaves or details using a thin brush.
- Apply a top coat to protect your design.
5. Marble Effect
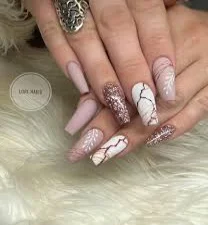
A chic and trendy look that’s easier than it seems.
- Drop different nail polish colors into a bowl of water.
- Swirl the colors using a toothpick.
- Dip your nail into the mixture, then remove and clean up the edges.
- Let it dry and apply a top coat.
Nail Art Tips for Beginners
- Always start with a base coat to protect your nails.
- Use thin layers of polish to avoid smudging.
- Clean up mistakes with a Q-tip dipped in nail polish remover.
- Be patient—let each layer dry completely before adding the next.
Final Thoughts
DIY nail art is a great way to get creative. You don’t need expensive tools—just some polish and a steady hand. Try these designs and experiment with colors. The more you practice, the better you’ll get!