A fresh manicure can make your hands look polished and well-groomed, but going to the salon every time isn’t always practical. The good news? You can achieve salon-quality nails right at home with a little patience and the right tools. Here’s a simple, step-by-step guide to help you get the perfect at-home manicure.
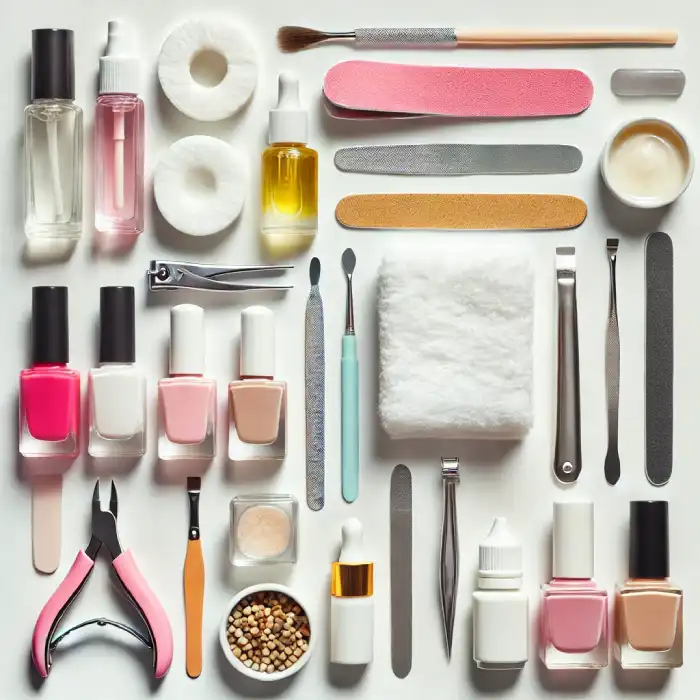
What You Need:
- Nail polish remover and cotton pads
- Nail clipper and file
- Cuticle pusher or orangewood stick
- Cuticle oil
- Hand scrub or exfoliator
- Moisturizer
- Base coat, nail polish, and top coat
- Optional: Nail buffer for extra shine
Step 1: Remove Old Polish
If you have any leftover nail polish, start by removing it with a non-acetone nail polish remover. Acetone-based removers work faster but can dry out your nails, so use them sparingly.

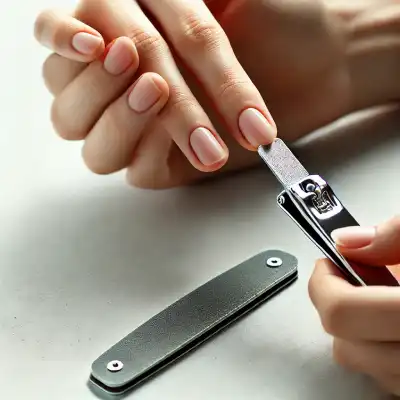
Step 2: Trim and Shape Your Nails
Use a nail clipper to trim your nails to your desired length. Then, use a file to shape them. A rounded or square shape is easy to maintain. Always file in one direction to avoid weakening your nails.
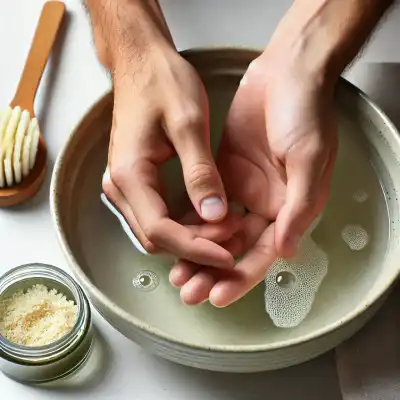
Step 3: Soak and Exfoliate
Soak your hands in warm water for a few minutes to soften your cuticles. You can add a few drops of essential oil or mild soap to the water. After soaking, gently exfoliate your hands with a scrub to remove dead skin cells. Pat dry with a towel.
Step 4: Push Back Cuticles
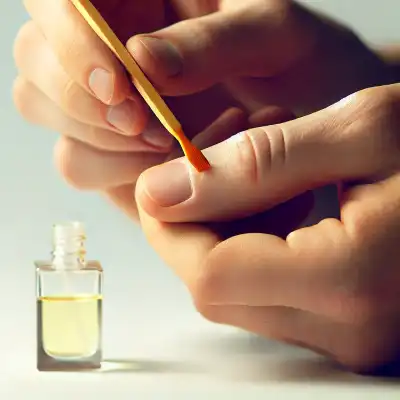
Apply a drop of cuticle oil and use a cuticle pusher or orangewood stick to gently push back your cuticles. Avoid cutting them, as this can lead to infections.
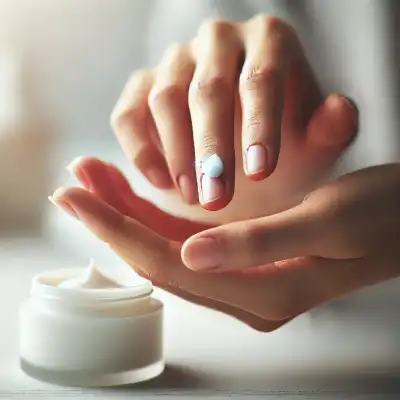
Step 5: Moisturize
Massage a good-quality moisturizer or hand cream into your hands, focusing on your nails and cuticles. This keeps your skin hydrated and prevents hangnails.
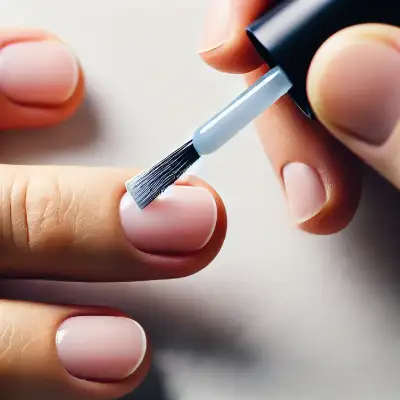
Step 6: Apply a Base Coat
A base coat helps your polish last longer and prevents staining. Apply a thin, even layer and let it dry completely before moving to the next step.
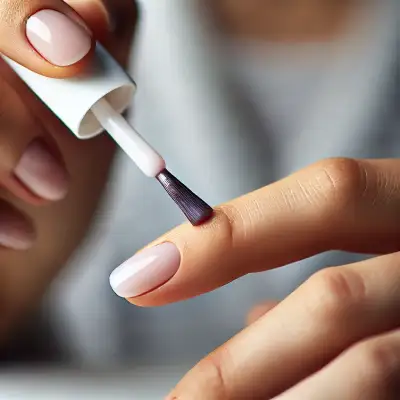
Step 7: Apply Nail Polish
Now for the fun part! Apply your nail polish in thin coats. Start with a stroke down the center, then one on each side. Let the first coat dry before applying the second. This prevents smudging and helps your polish last longer.
Step 8: Seal with a Top Coat
A top coat adds shine and helps prevent chipping. Apply a thin layer and let it dry completely. For extra longevity, apply another layer of top coat after a couple of days.

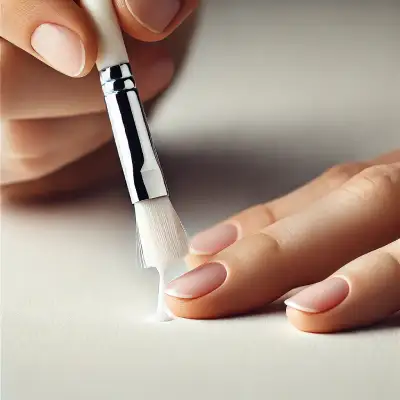
Step 9: Clean Up Edges
If you got any polish on your skin, use a small brush dipped in nail polish remover to clean up the edges. This gives your manicure a neat, professional finish.
Step 10: Let Your Nails Dry Completely
Even if your polish feels dry to the touch, it might still be soft underneath. Avoid doing anything that could smudge your nails for at least 20–30 minutes.
Tips for a Longer-Lasting Manicure:
- Avoid hot water for a few hours after painting your nails.
- Wear gloves while doing dishes or cleaning.
- Apply a thin layer of top coat every couple of days to maintain shine and prevent chips.
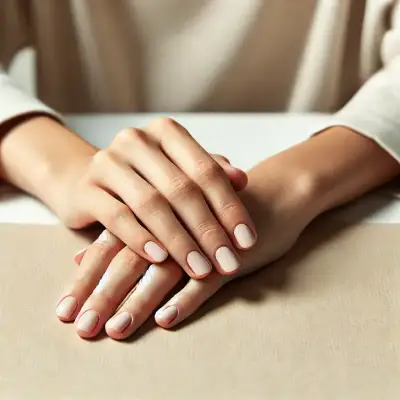
Doing your nails at home doesn’t have to be complicated. With a little practice, you can achieve beautiful, long-lasting results without stepping into a salon.
Happy manicuring!